In the fast-paced world of technology, keeping up-to-date with software versions is crucial. This tutorial guides you on how to check which version of Windows is installed on your computer.
Method 1: Using the Settings App
- Launch the Settings App
Start by clicking on the Start button in the lower-left corner of your screen or by pressing the Windows logo key on your keyboard. From the menu, select the ‘Settings’ gear icon. - Navigate to the System Category
The Settings app will open up to a list of various categories. Find and click on ‘System.’ - Go to the ‘About’ Section
Scroll down the sidebar on the left until you reach ‘About’ at the bottom. Click on it. - Check Your Windows Specifications
On the right side, under ‘Windows specifications,’ you’ll see details about your Windows edition, version, and OS build.
Method 2: Using the ‘winver’ Command
- Open the Run Dialog Box
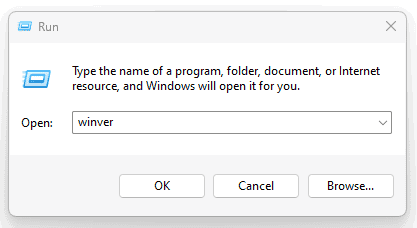
Press the Windows logo key + R on your keyboard simultaneously to open the Run dialog box. - Enter the ‘winver’ Command
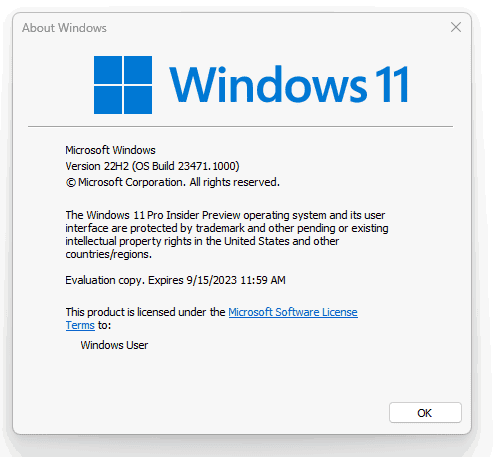
In the text field, type ‘winver’ and press Enter or click OK. - Check the Version
A window will pop up displaying your Windows version and build number.


Method 3: Using the System Information Tool
- Open the Start Menu
Click on the Start button or press the Windows logo key. - Search for ‘System Information’
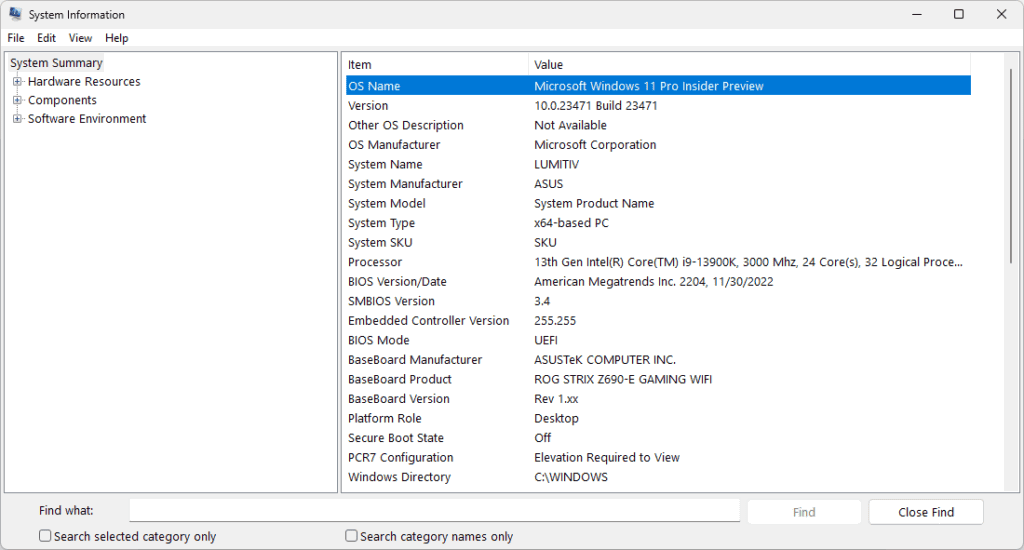
Type ‘System Information’ into the search box and press Enter. Click on the matching result. - Find Your Windows Version
In the System Summary, look for ‘Version’ under ‘OS Name’ and ‘OS Version.’ You’ll see your Windows version and build number.

In any of these ways, you can easily ascertain which version of Windows is currently installed on your computer. Remember, staying updated with the latest version can ensure your system’s security and performance. Happy computing!

